|
|


 03-14-2019, 08:19 PM
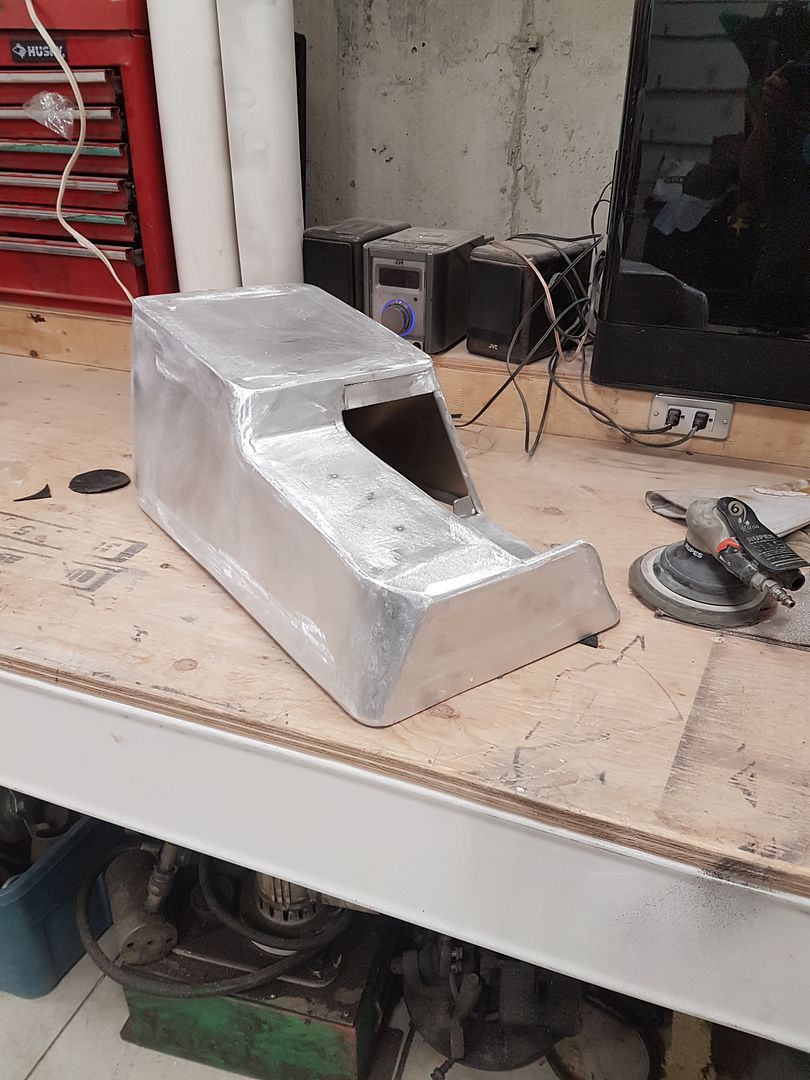
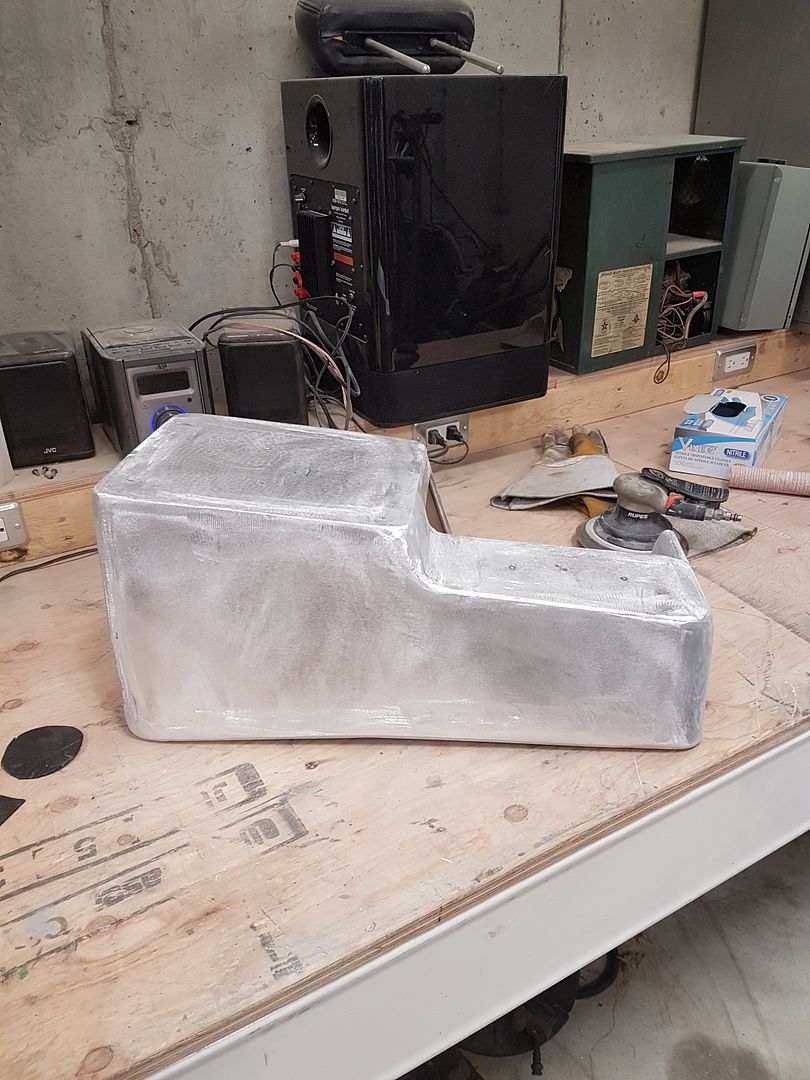
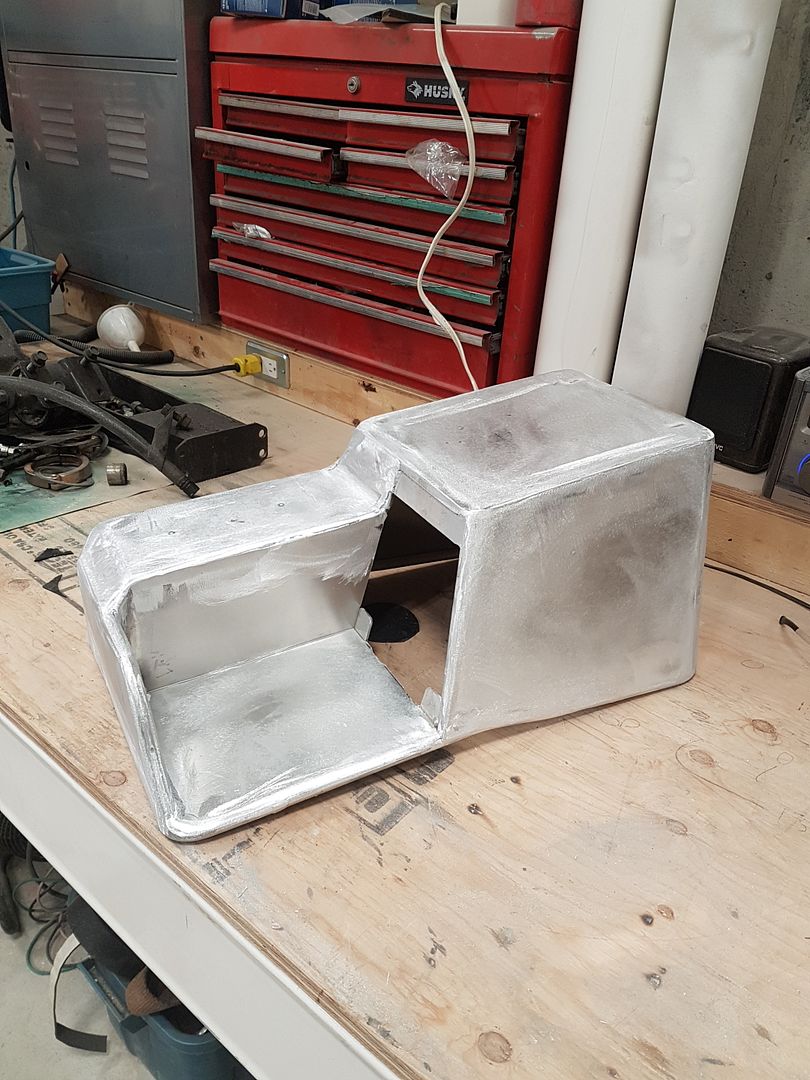
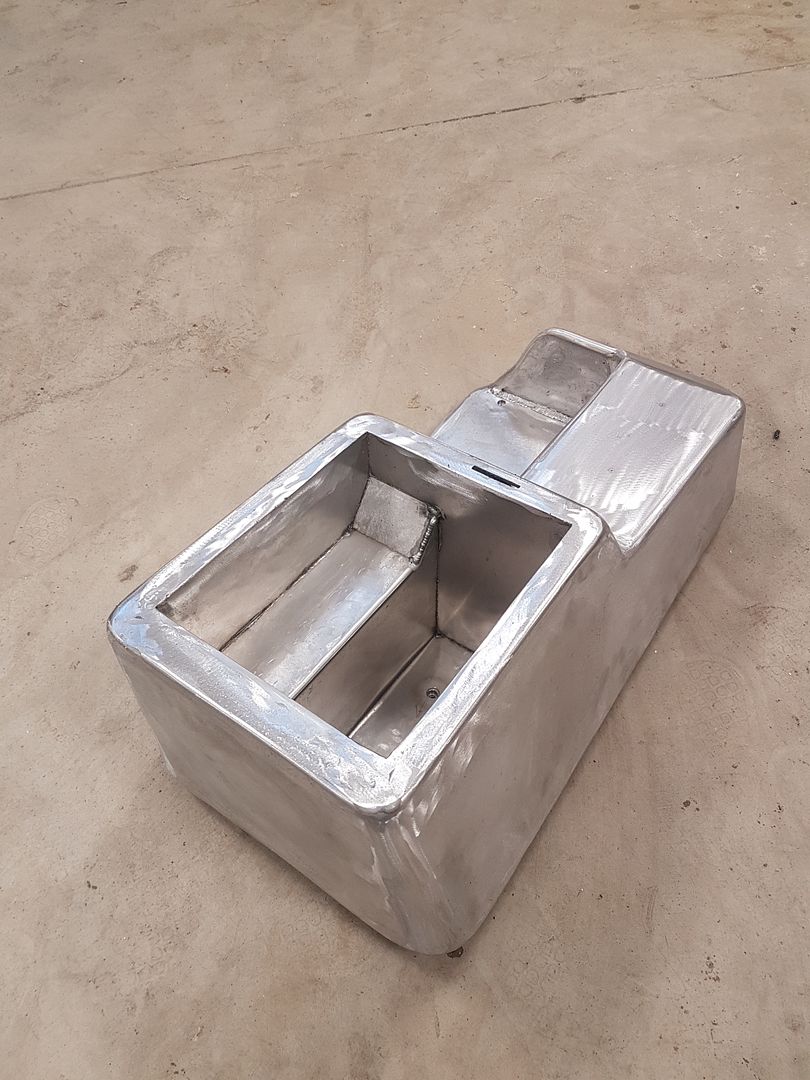
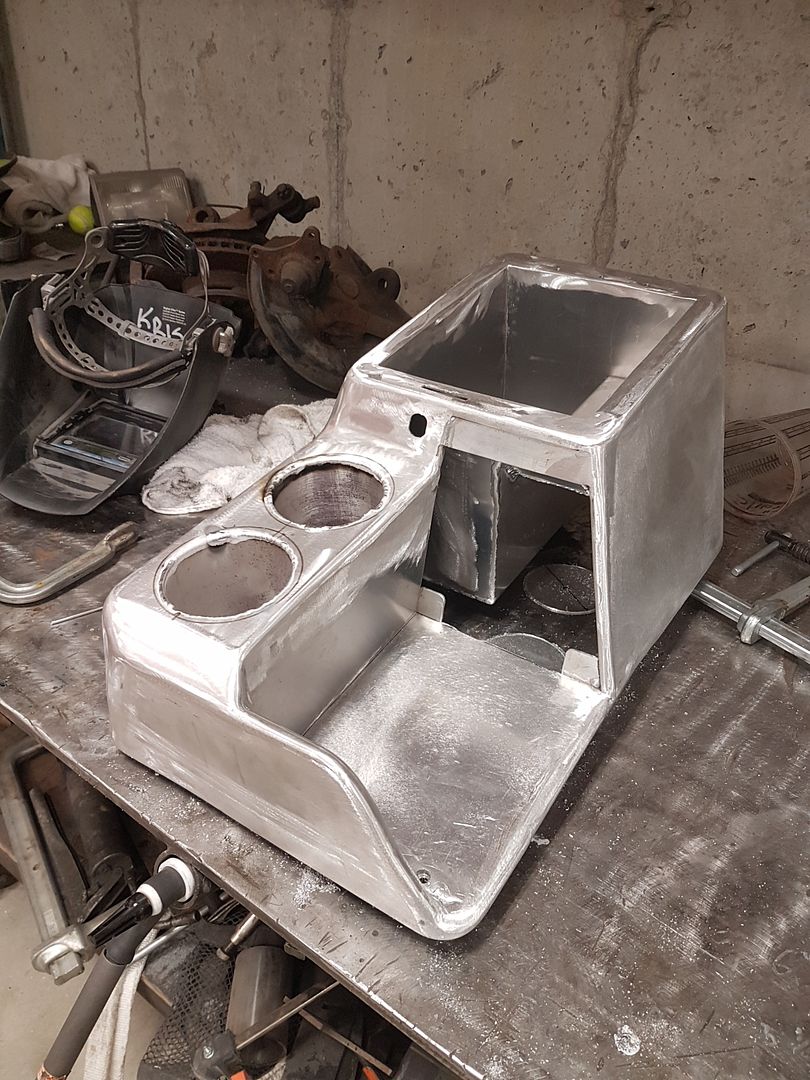
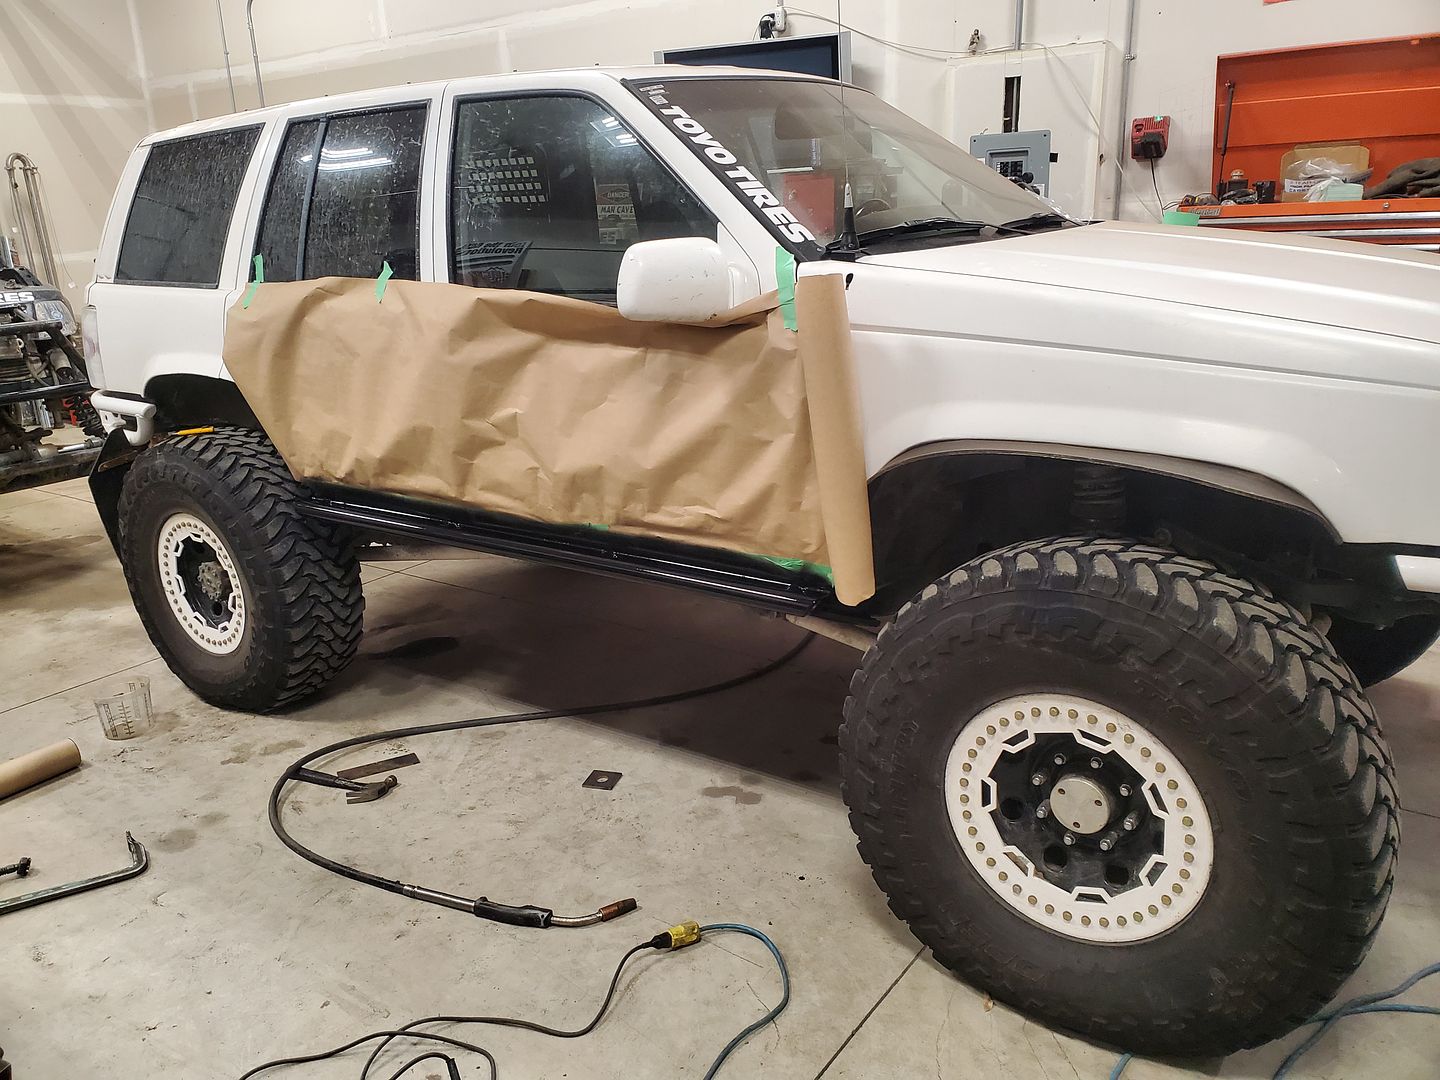
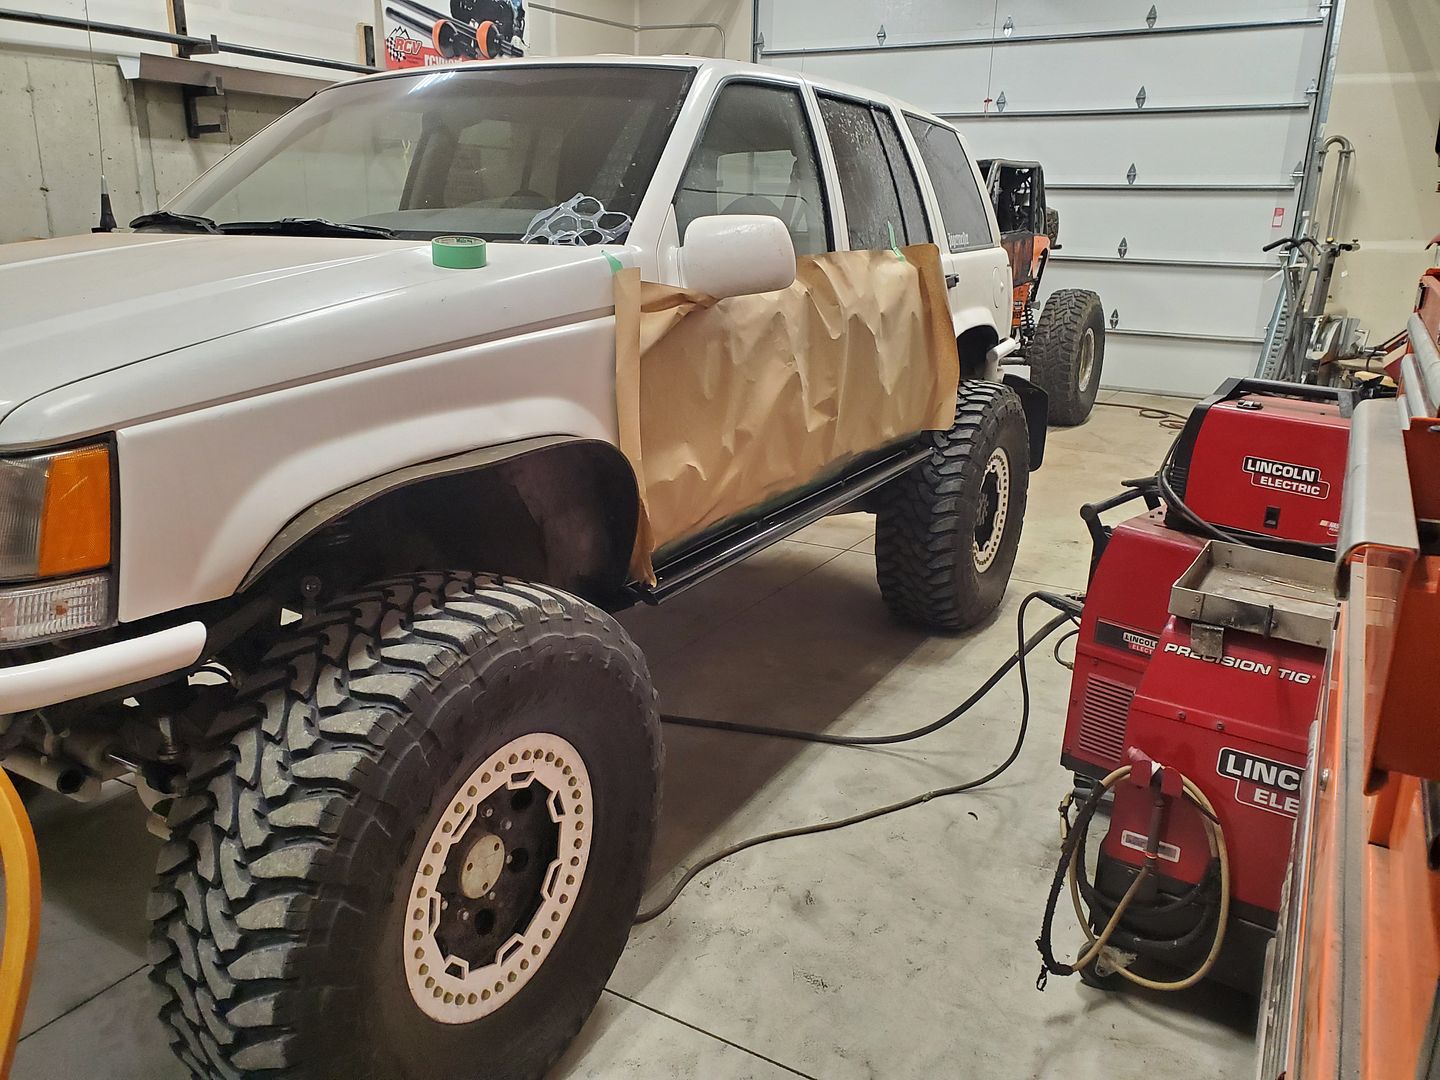
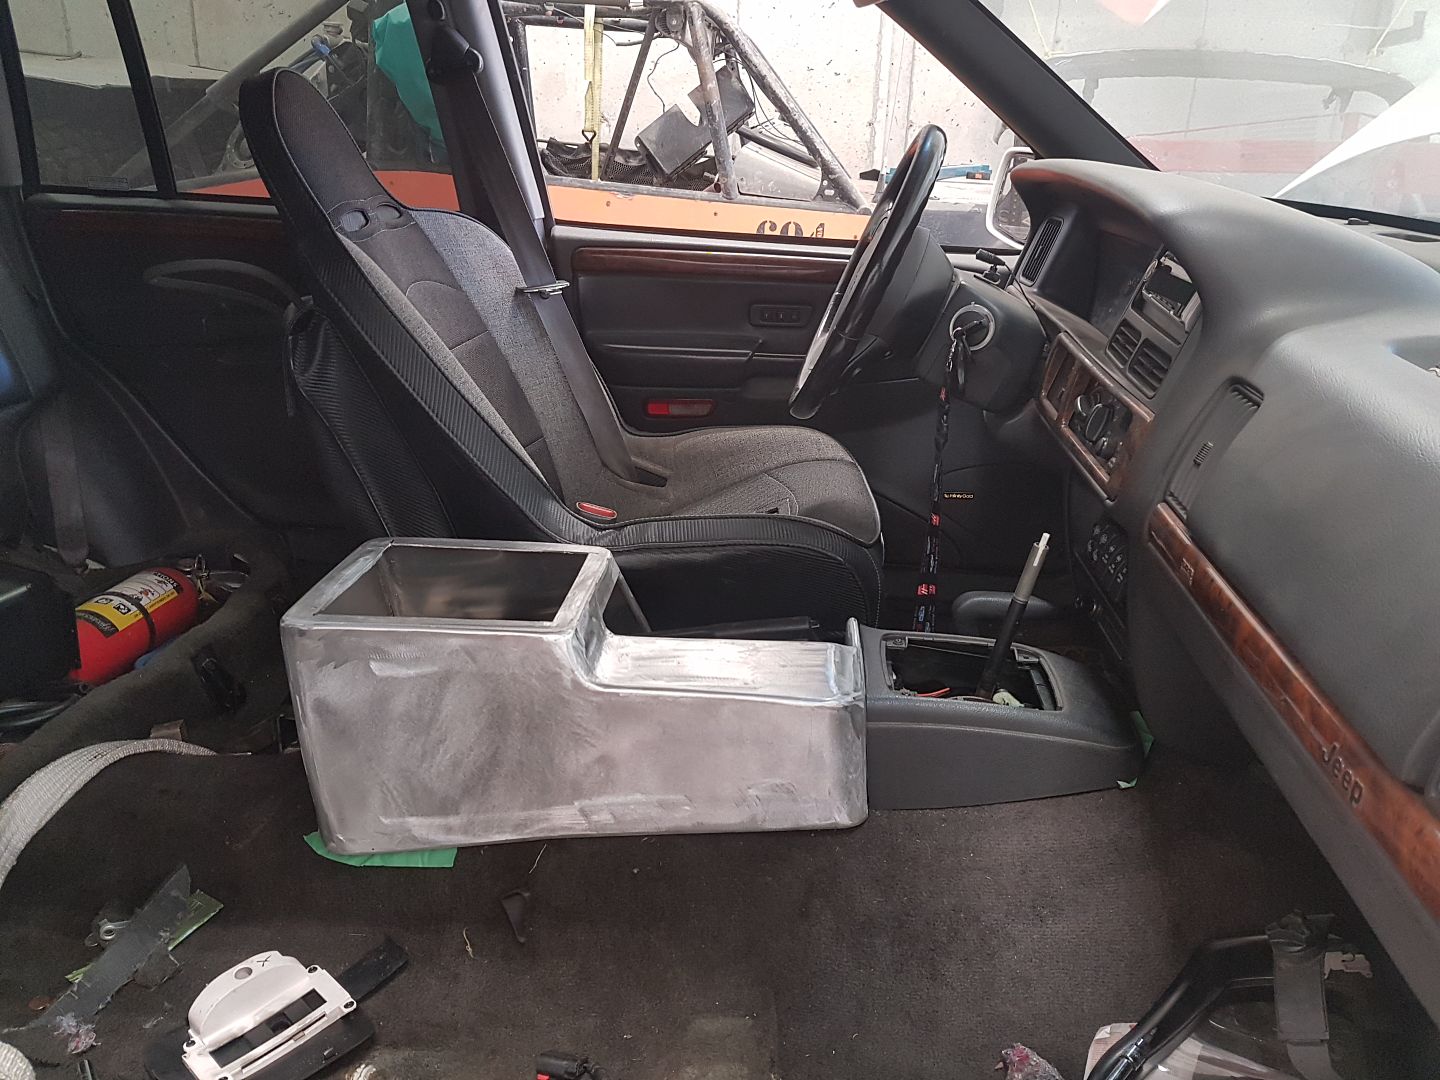
got it fully welded, sanded with 36 grit and then i hit it with an orbital with 220 to see th low spots.
i need to fill a few low spots, cut the top for the storage compartment, build a lid, build cup holders, power outlets, and mounts.
 03-14-2019, 09:15 PM
So you're 40% done with it...LOL! It's great that you have this keep your spirits up throughout your treatment.Originally Posted by Kraqa

Sent from my SAMSUNG-SM-G930A using Tapatalk
03-16-2019, 12:42 AM
So I though i had pics of the brackets welded on without the plastic cover. I dont. I will pull the covers if you want. Its pretty simple i just welded some 1" x .125" flatbar to the c pillar and d pillar. They poke through the plastic cover and the molle grill just bolts to it using extruded t nuts.
The tail lights i used buna windsheild putty. I will take a pic of the box. Its like playdough, you just roll a skinny peice and lay it in the grouve on the sealing faces. Press the pieces together and heat to 265f then press them.together again.
03-16-2019, 06:53 PM
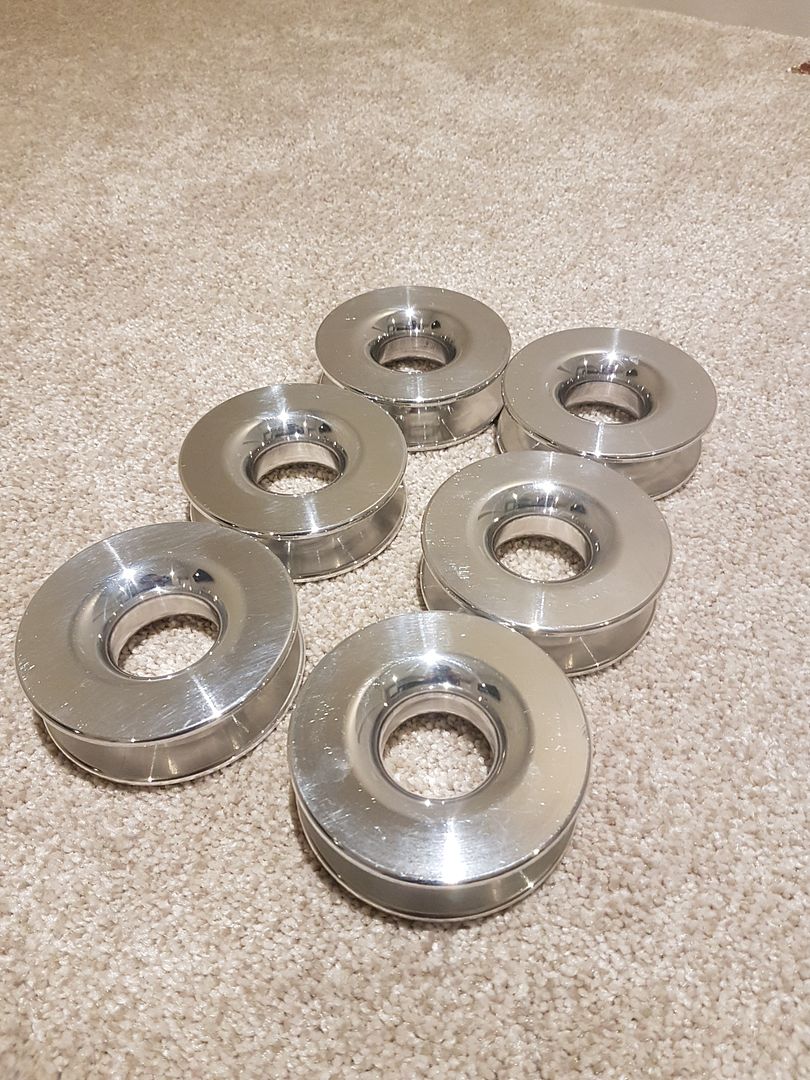
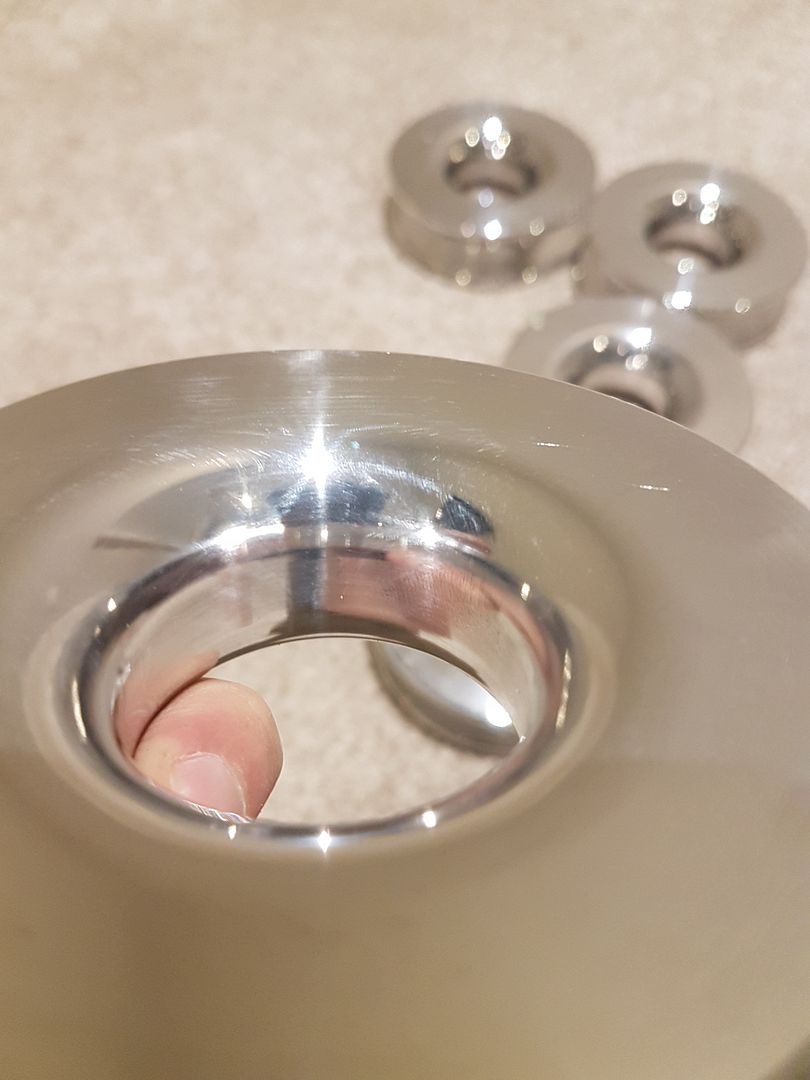
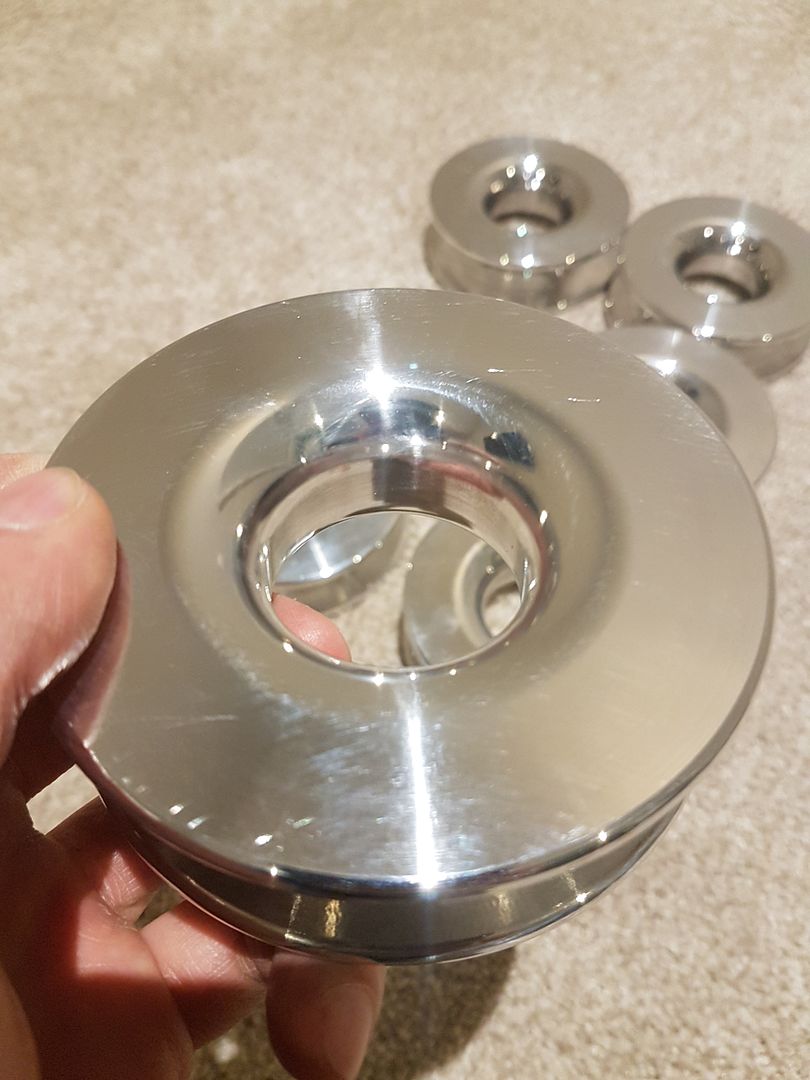
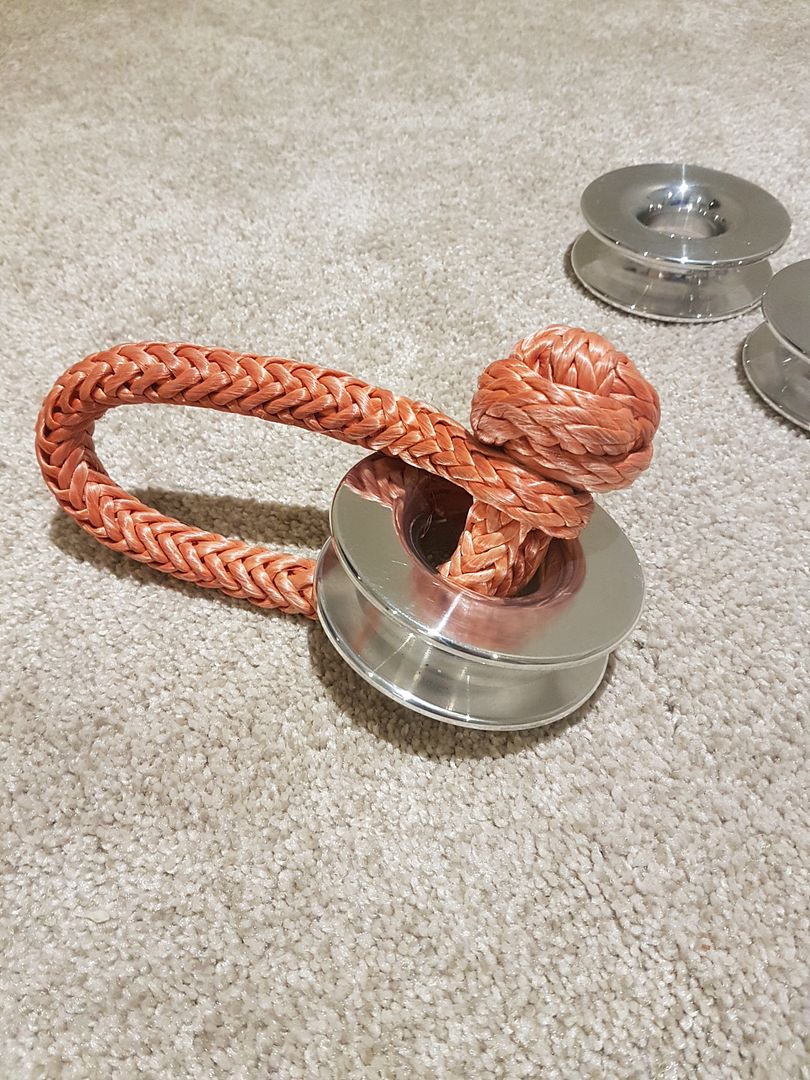
Making some soft shavkle snatch block rings.

03-18-2019, 01:51 PM
 03-18-2019, 04:14 PM
Those pics and explanation helps a lot! Thanks. Will see if this works with the shelf thats still in process of being built in the rear.
03-19-2019, 11:43 AM
and the final product. still deciding if i'm going to coat them or not.
quickly polished, i wanted to make sure the ID was as smooth as possible.
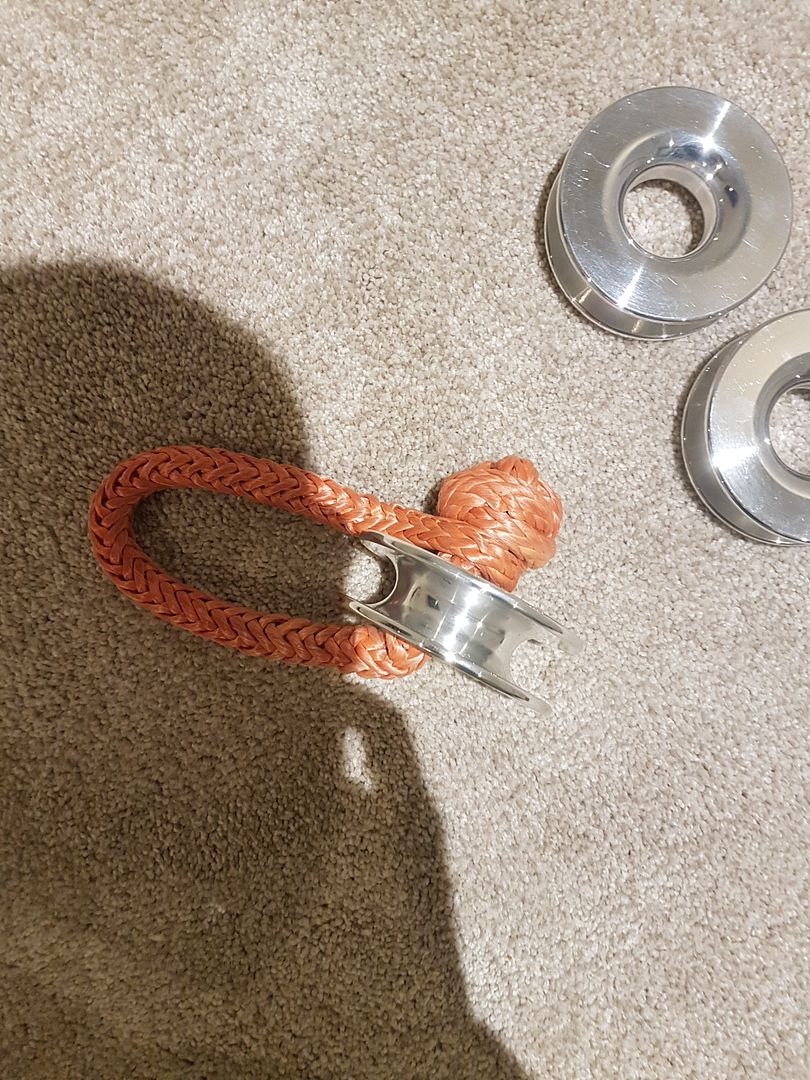
and on the soft shackle
03-19-2019, 06:57 PM
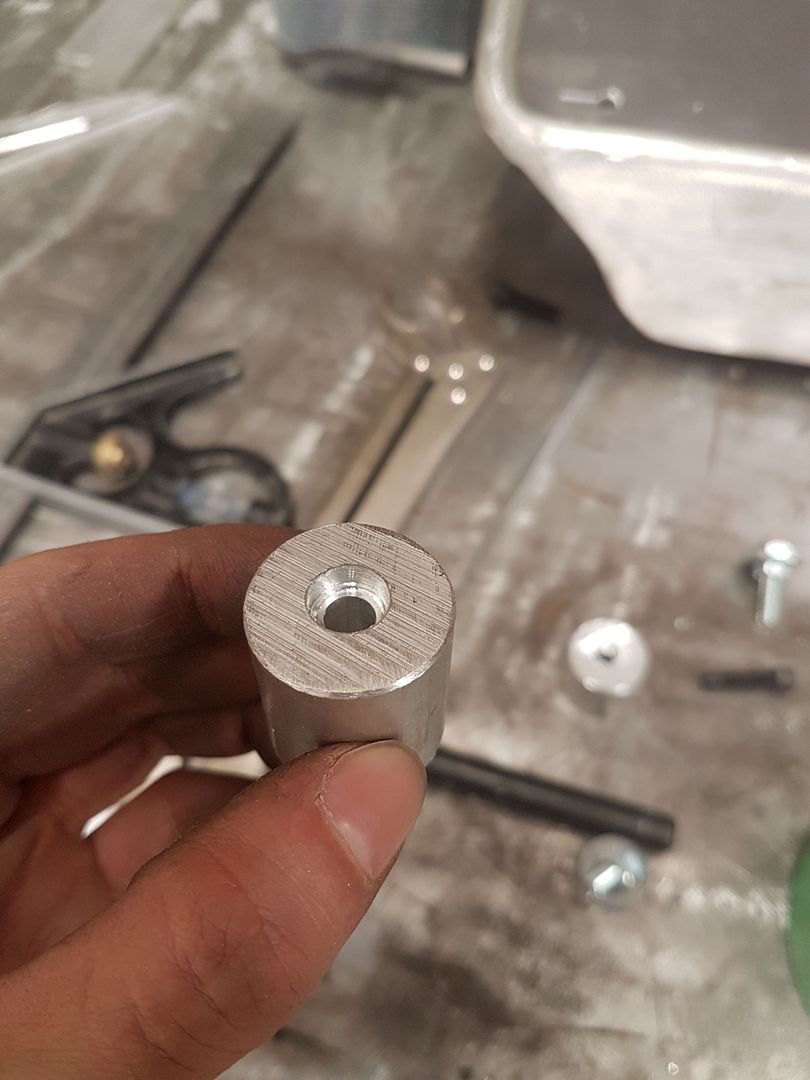
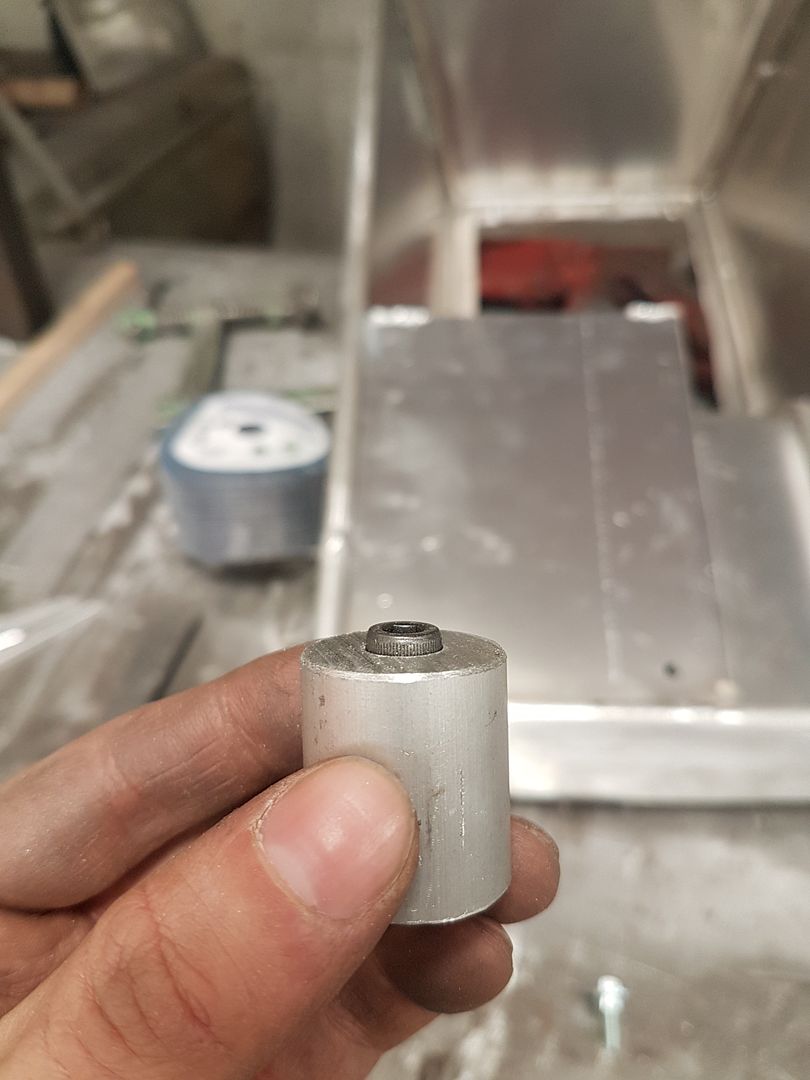
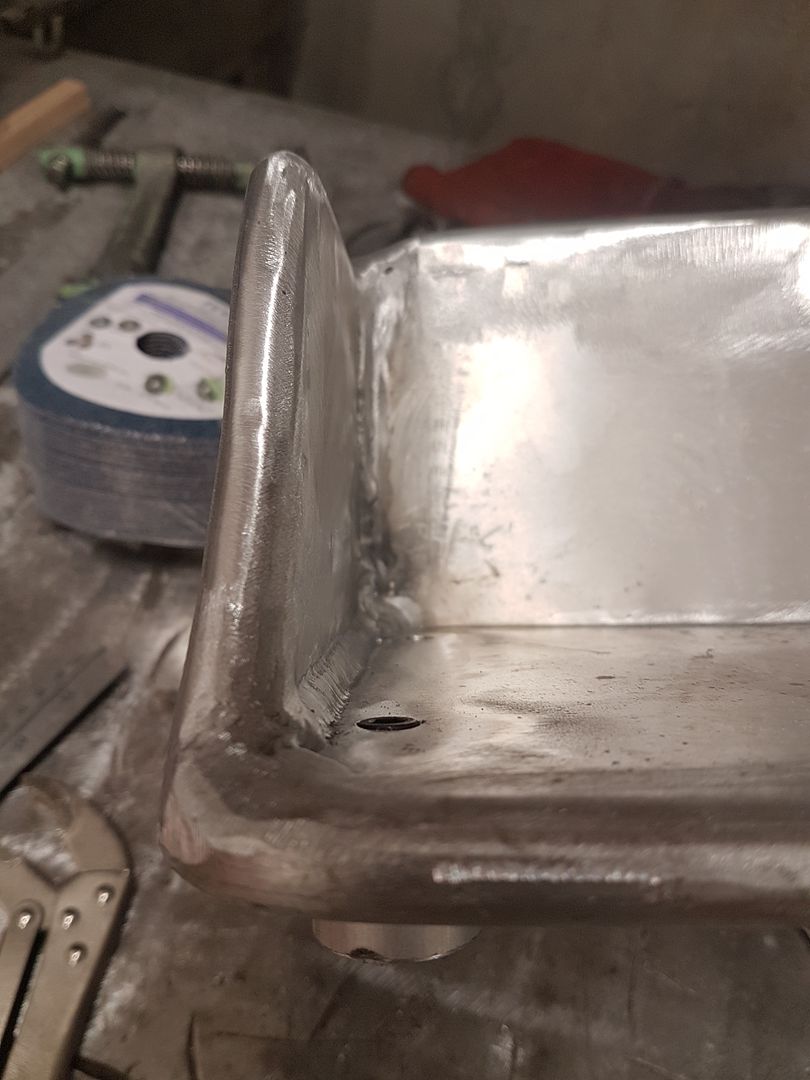
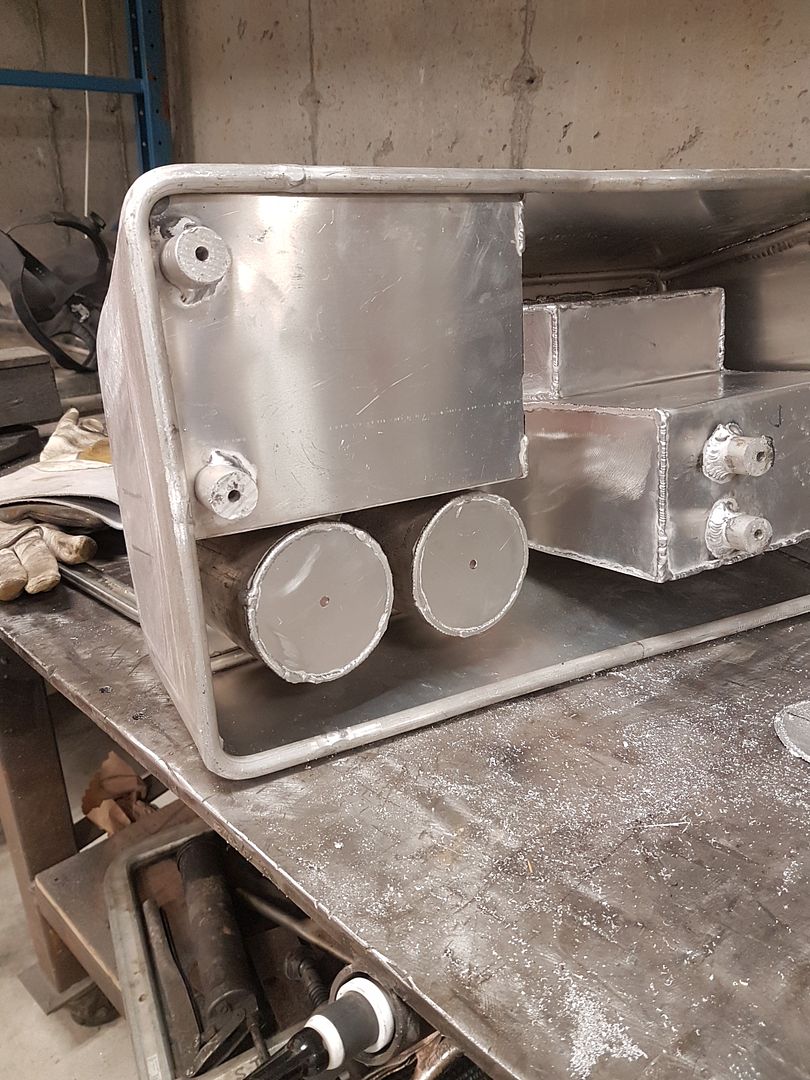
I got a chance to work on the front mounts.
I made 2 of these on a drill press an used a modified 3/8" drill bit to made the counter bore with a flat bottom.
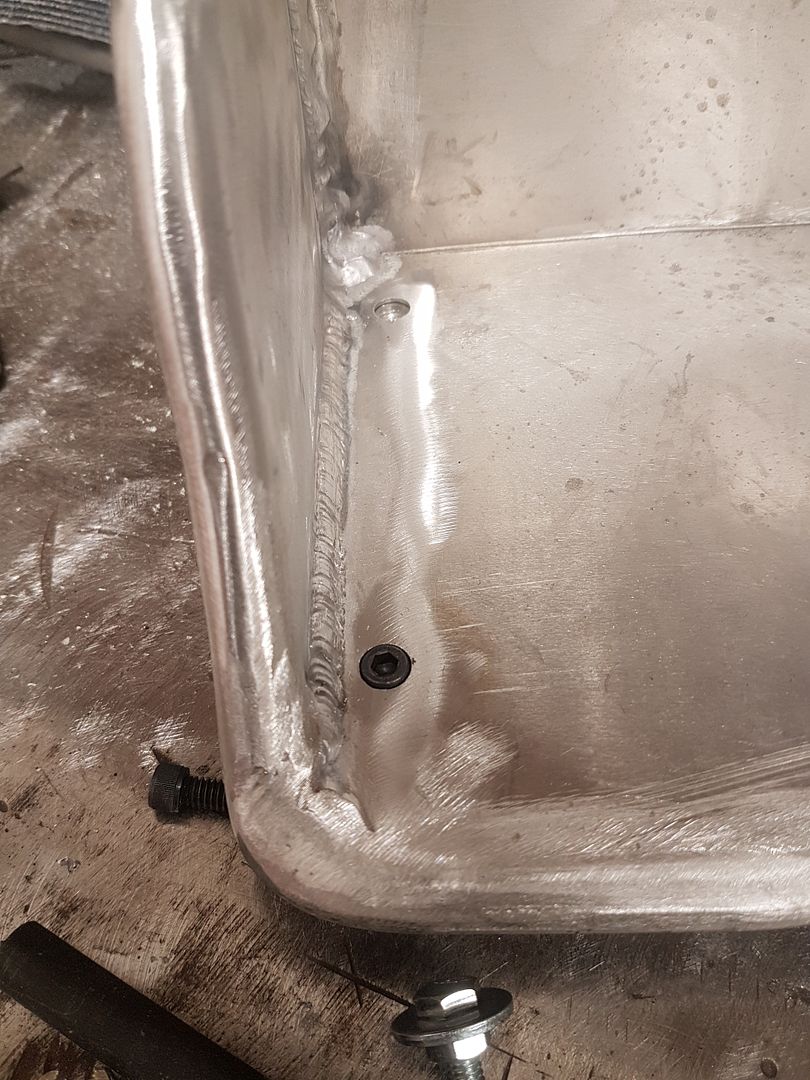
the cap screw head sticks up the material thickness of the console skins.
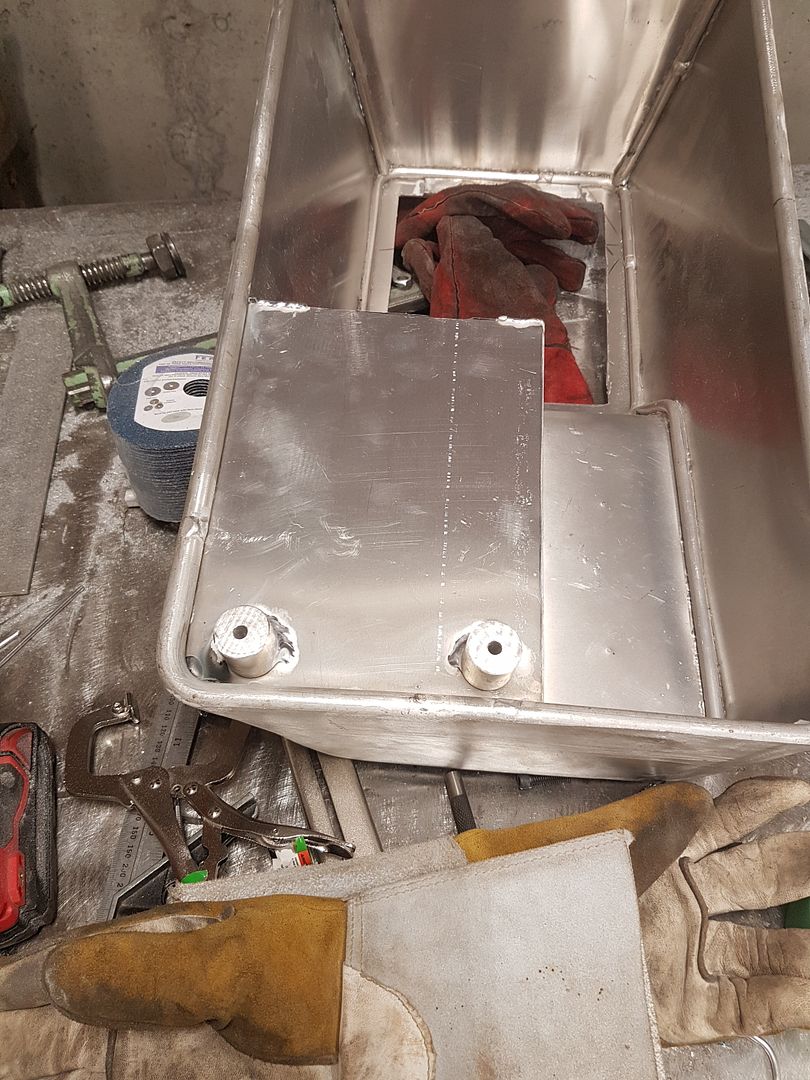
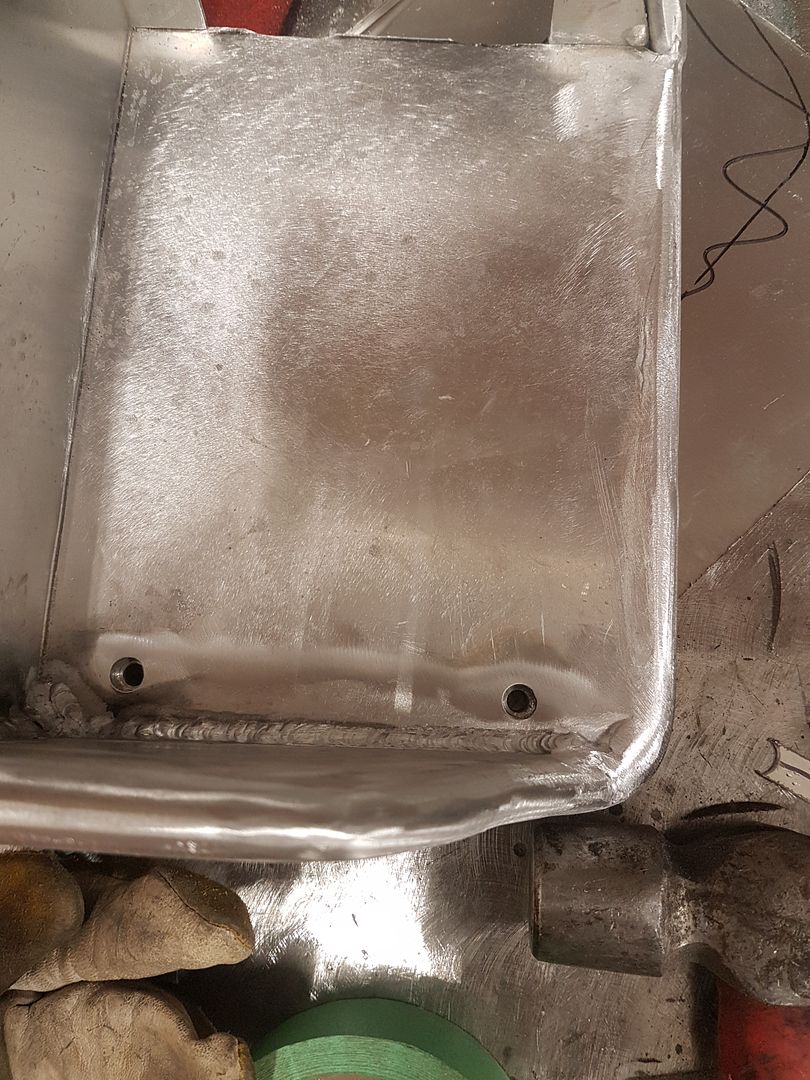
welded to the back side
from the top
nice and flush
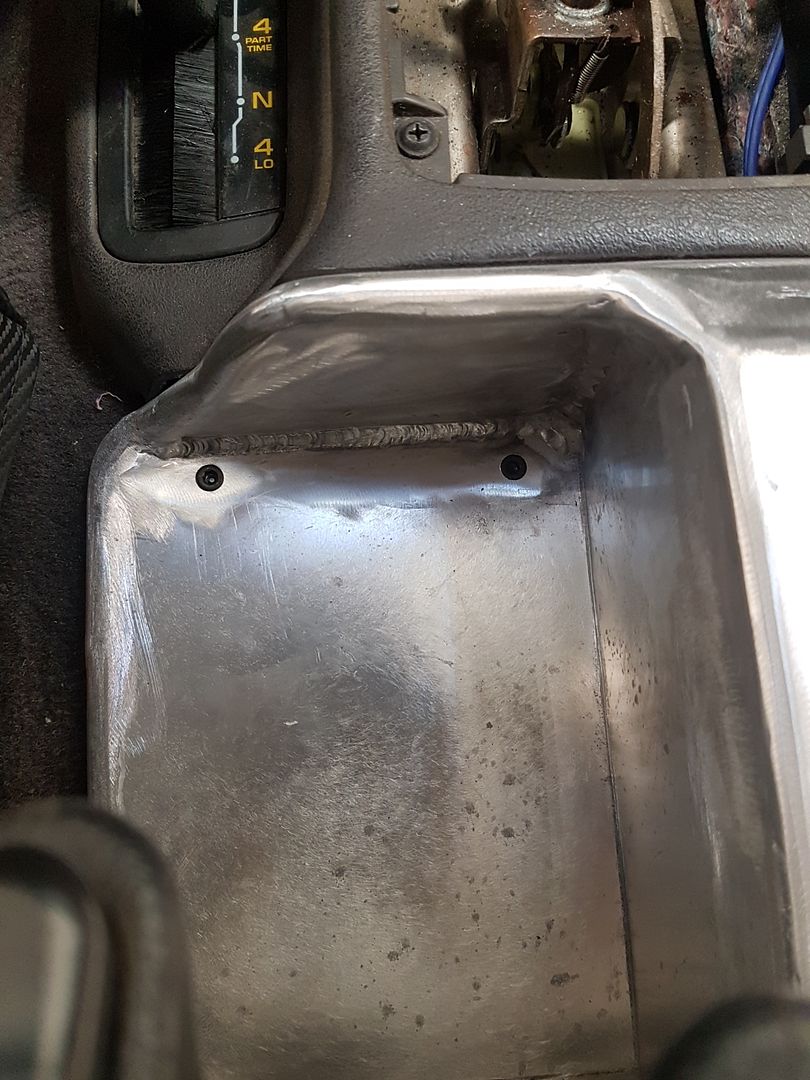
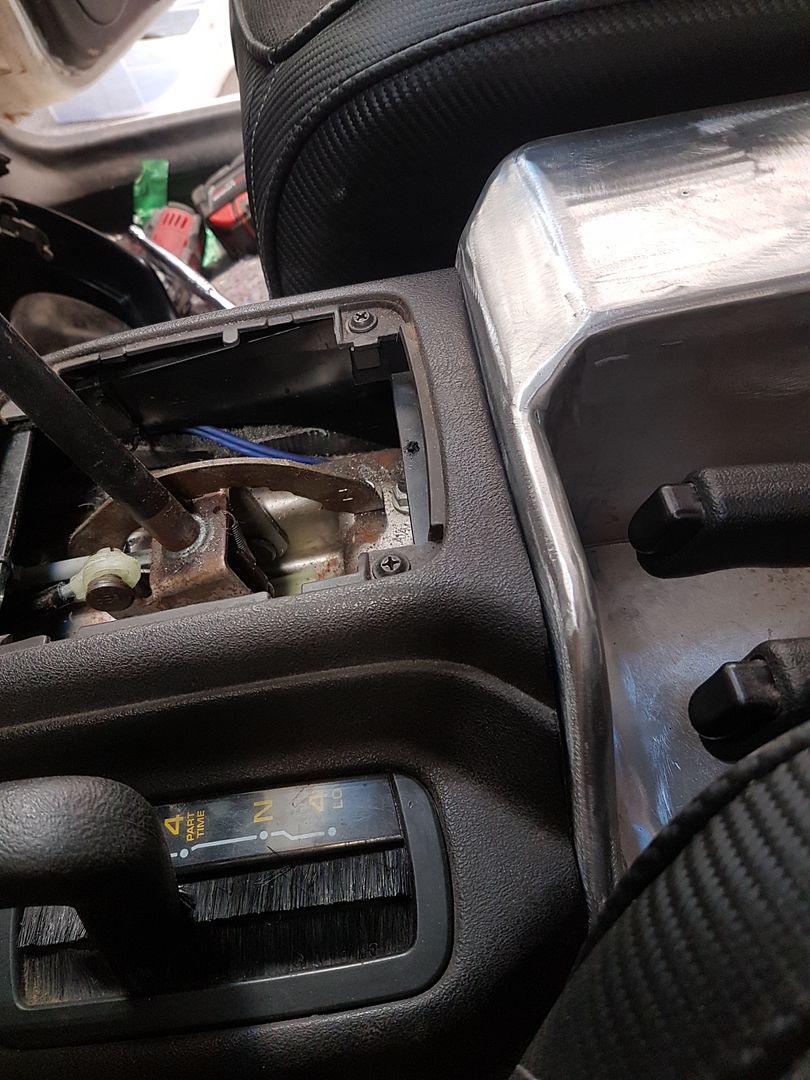
i made some plates with captive nuts welded to the bottom of the tranny tunnel to bolt to.
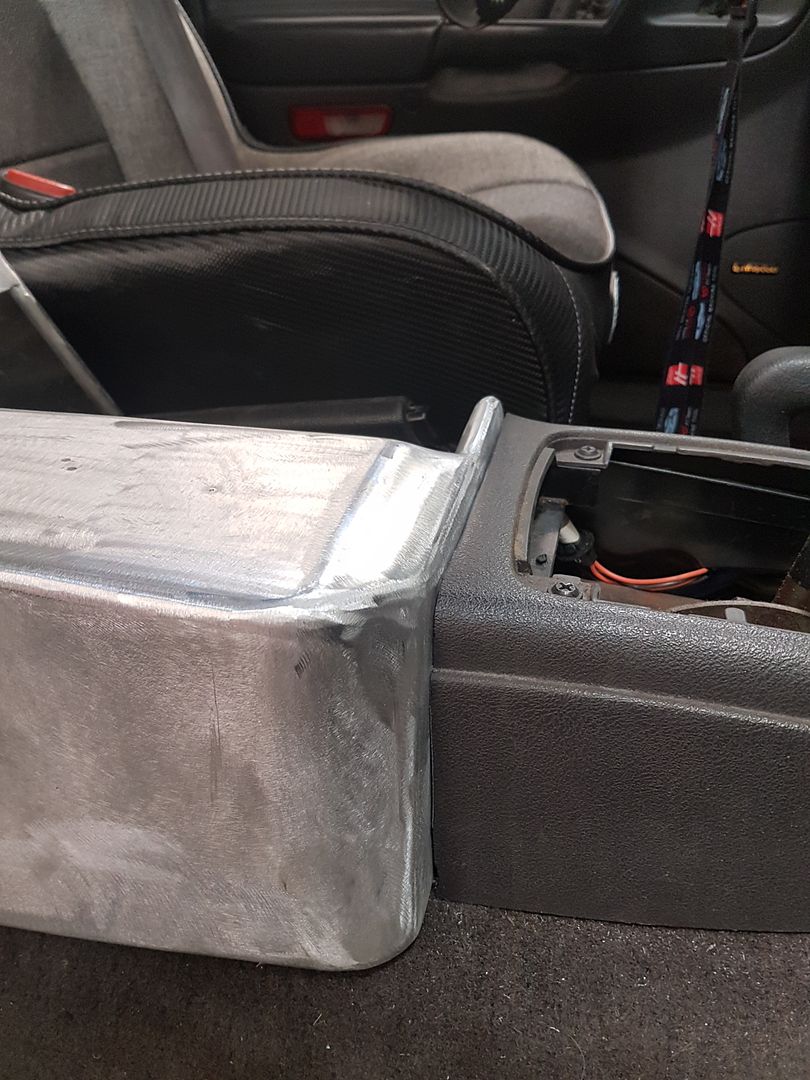
i also cleaned up the fitment between the factory console and the new one.
03-27-2019, 07:43 PM
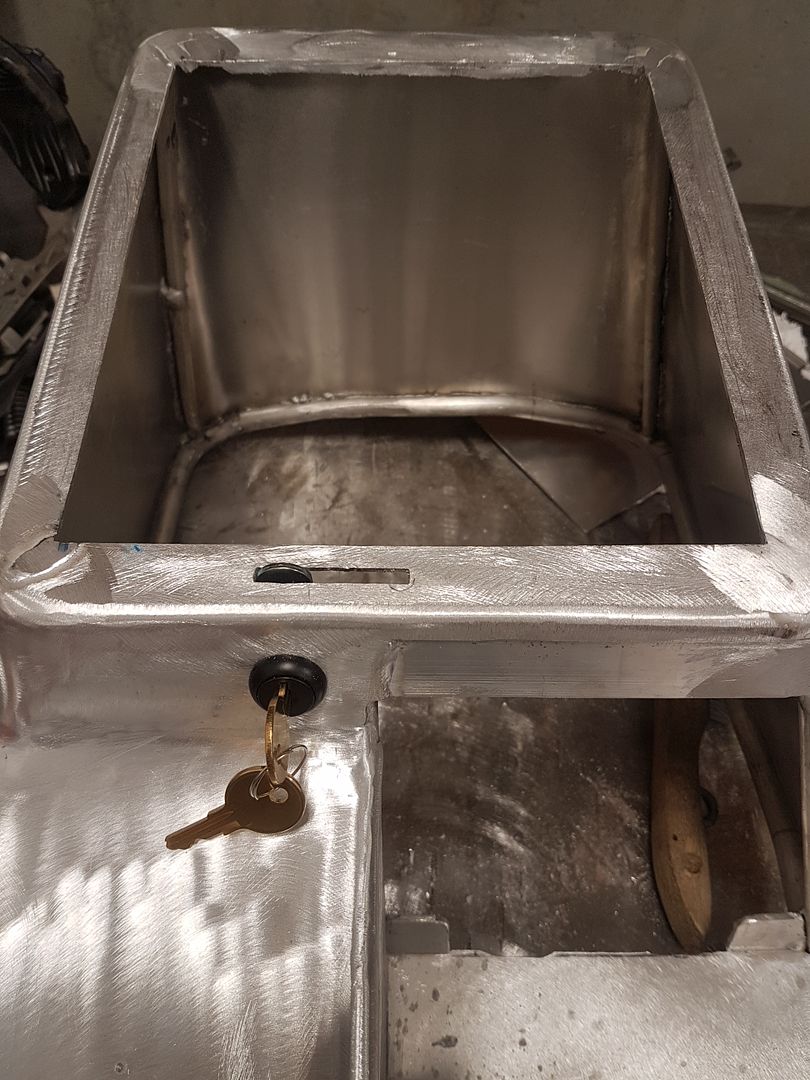
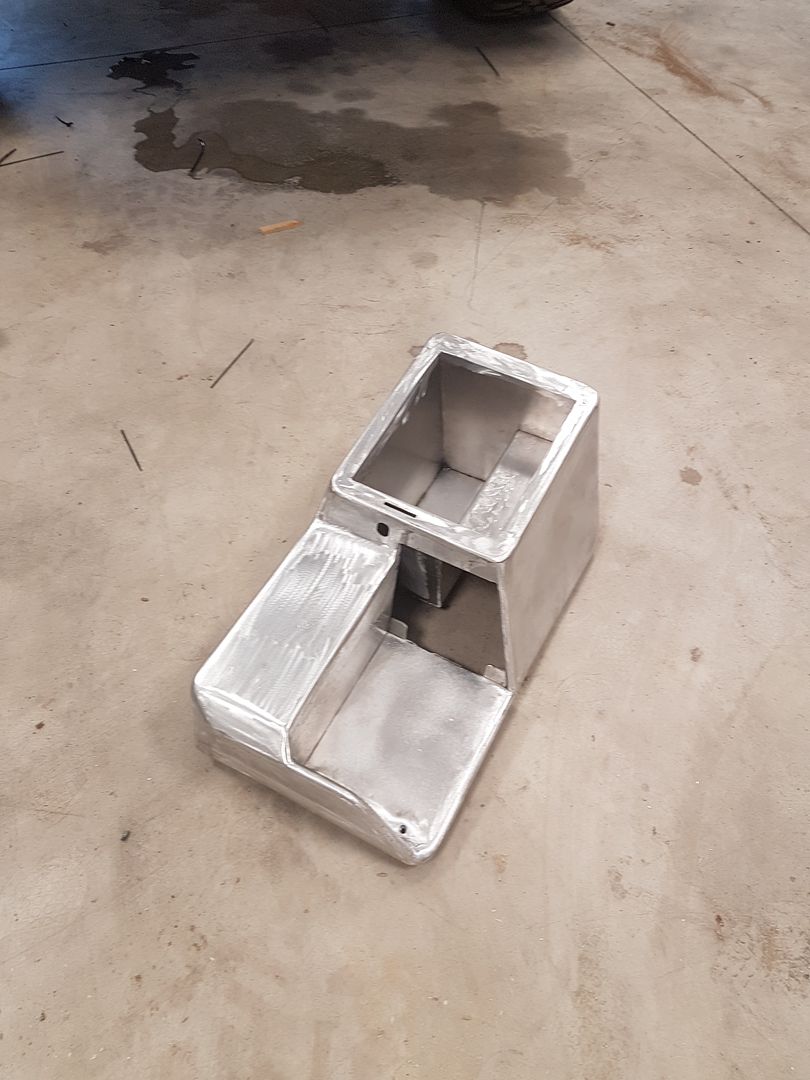
i got a chance to make some more progress.
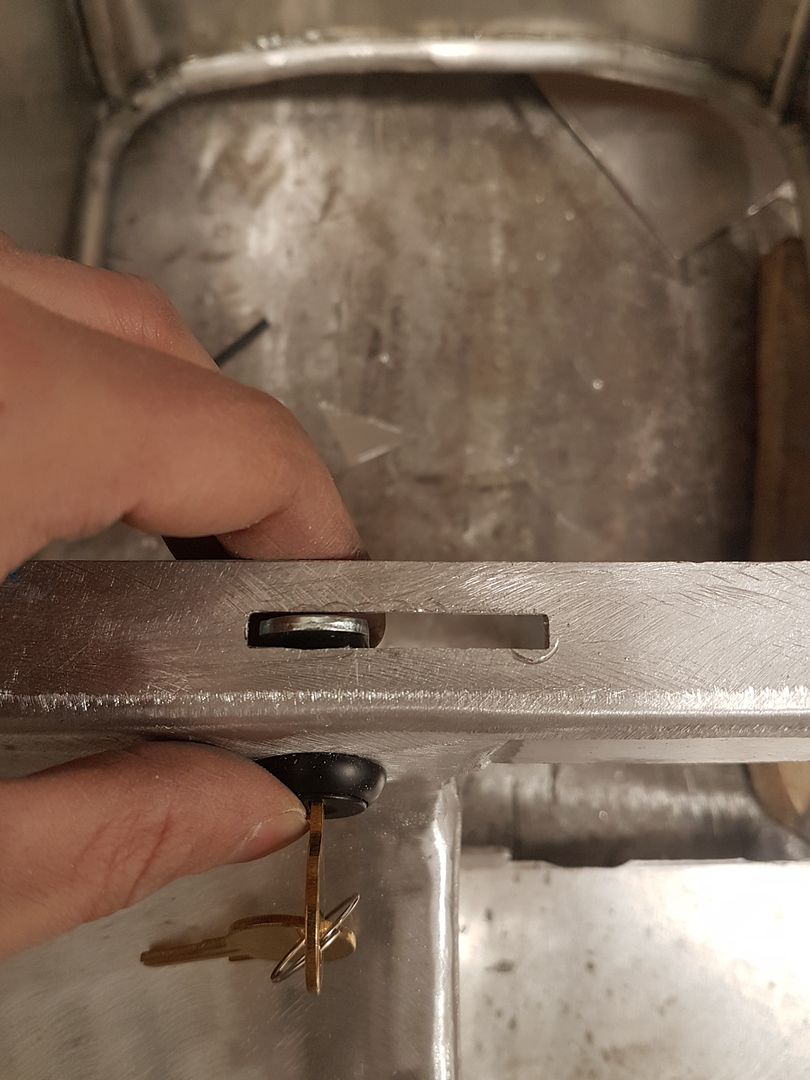
got the lock mounted.
I'm going to waterjet a new latch the one that came with it is not long enough
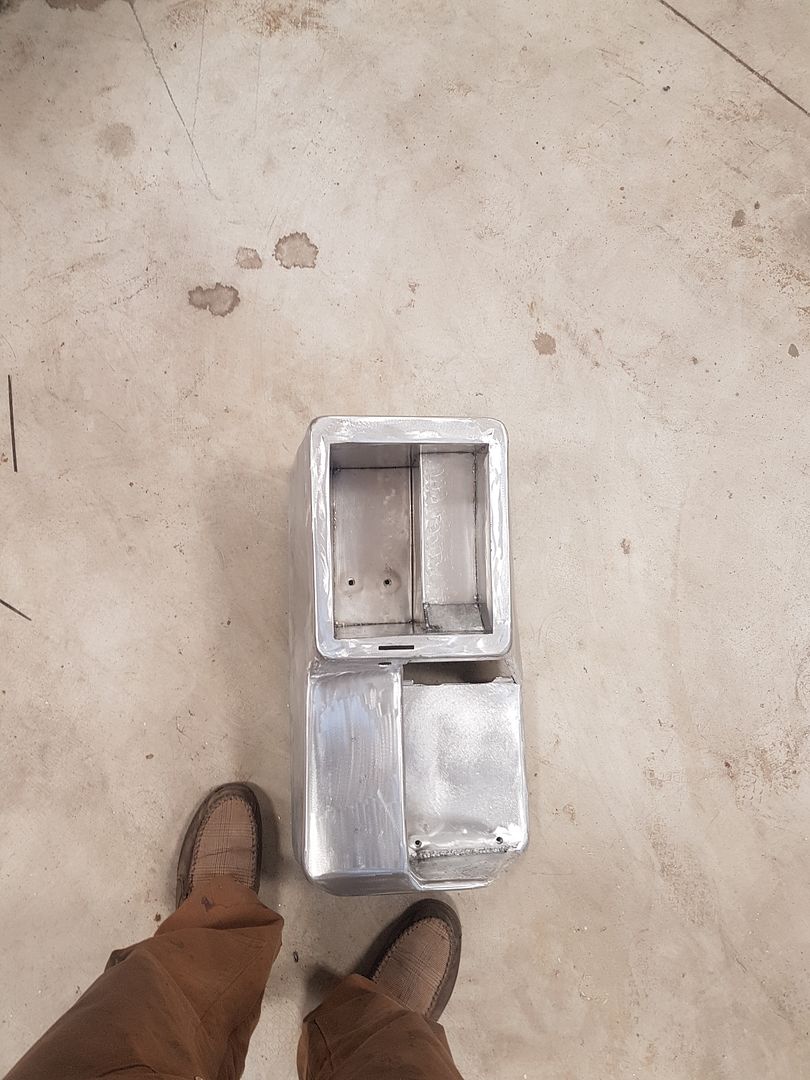
i also got the inside finished...dont mind the safety loafers...
i'm going to rubber line the interior to stop any rattling.
03-27-2019, 10:41 PM
Where do I get a pair of those safety loafers?
Sent from my SAMSUNG-SM-G930A using Tapatalk
03-27-2019, 11:07 PM
DC shoes man!!!
 03-29-2019, 08:31 AM
This might be one of the coolest modifications to a ZJ that I've seen!
04-11-2019, 09:57 PM
Thanks. I love it. I switched gears a bit and started building a lowrider minitruck. 1991 mazda b2600i 2wd on 20's
04-11-2019, 10:27 PM
Is that what the BMW seats are going in?
Sent from my SAMSUNG-SM-G930A using Tapatalk
04-15-2019, 02:39 PM
Thats the current plan.
07-22-2019, 12:34 PM
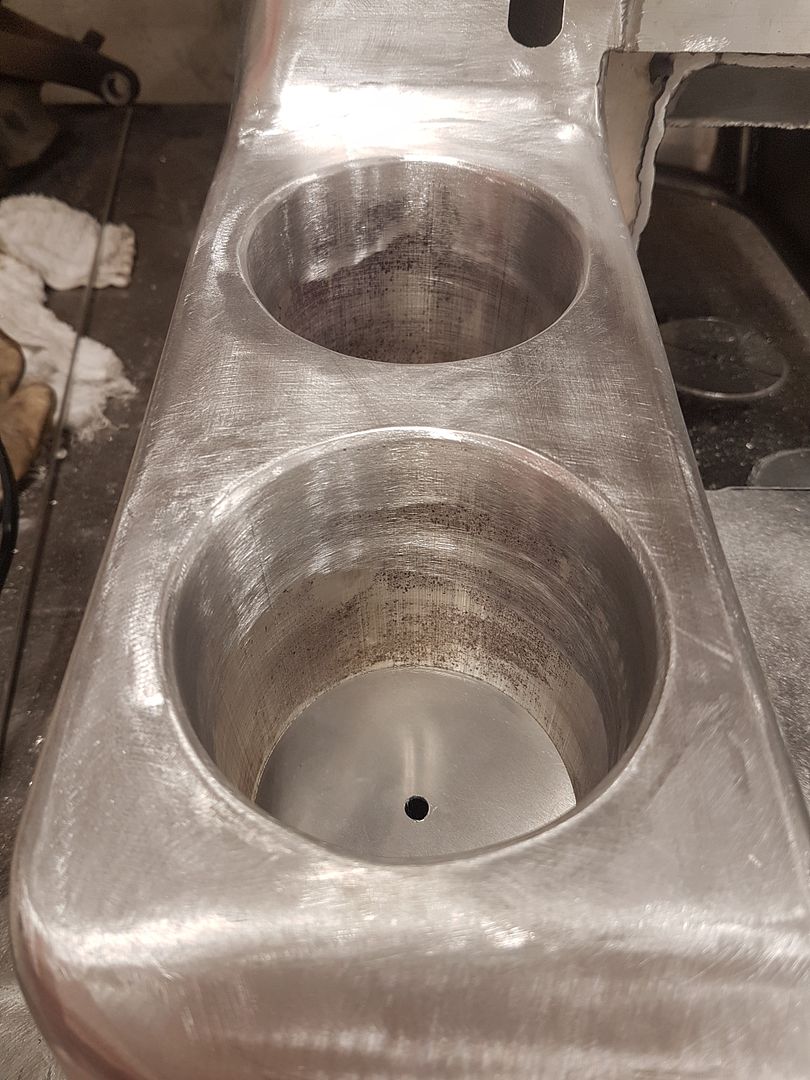
I got some motivation today after recently getting the buggy repairs finished.
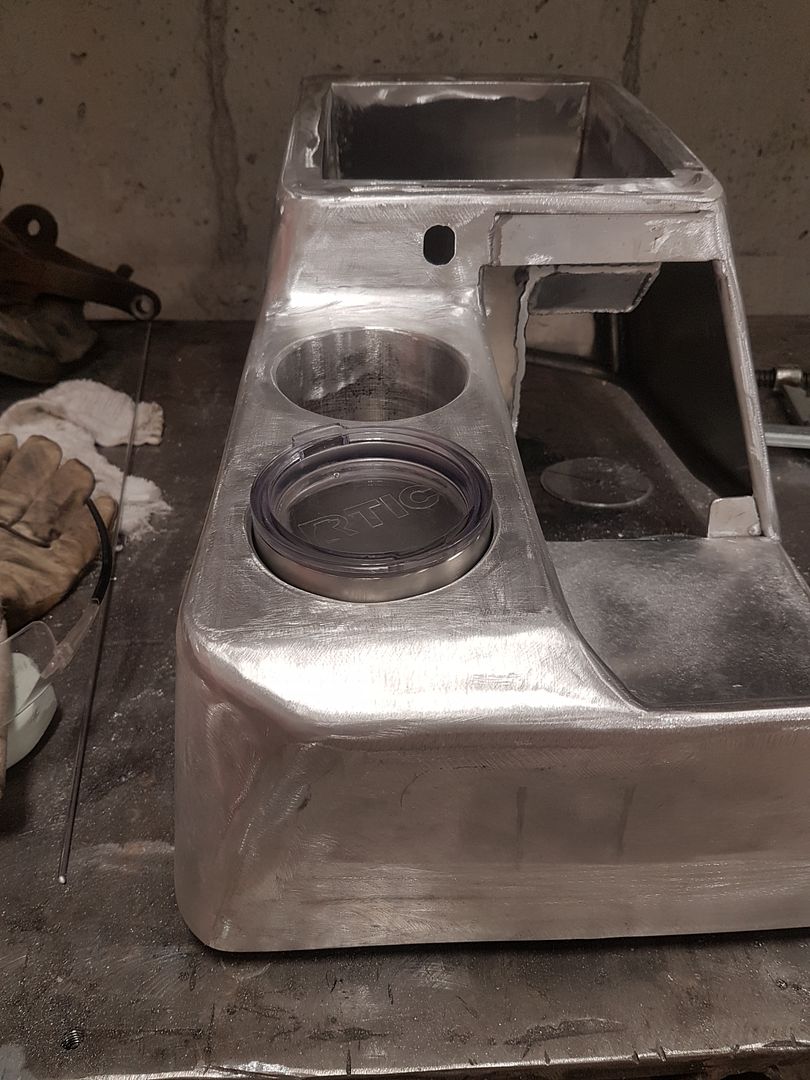
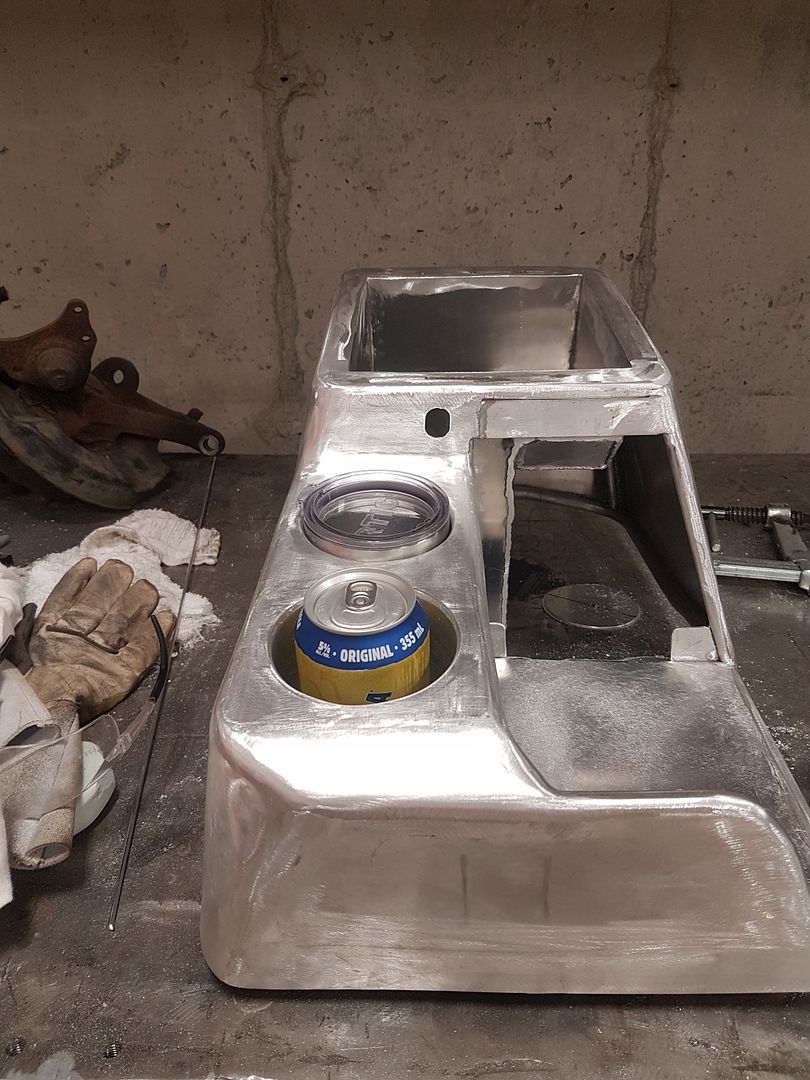
I wanted really big cup holders. The stainless tumbler is a RTIC 8ball it’s one of my favorite cups. Fits like a glove. I will make some foam inserts to better fit a beer.
Hopefully tomorrow I can make some progress on the lid. I want to get this powder coated ASAP.
07-26-2019, 12:45 AM
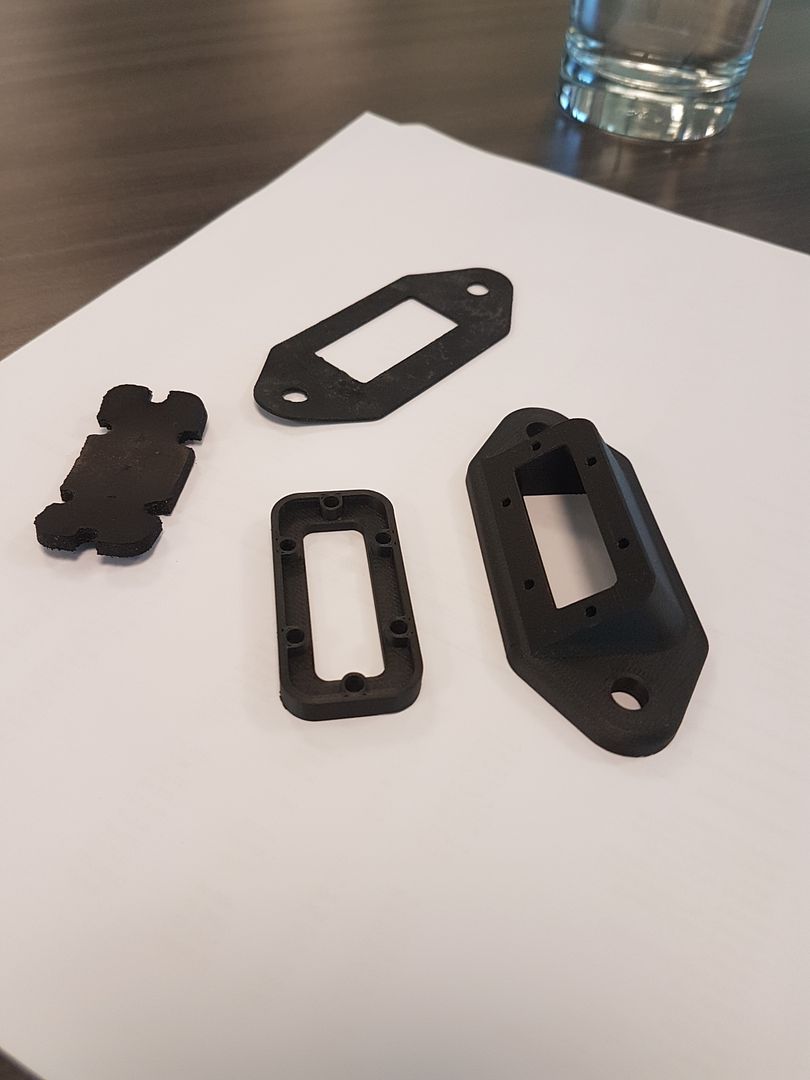
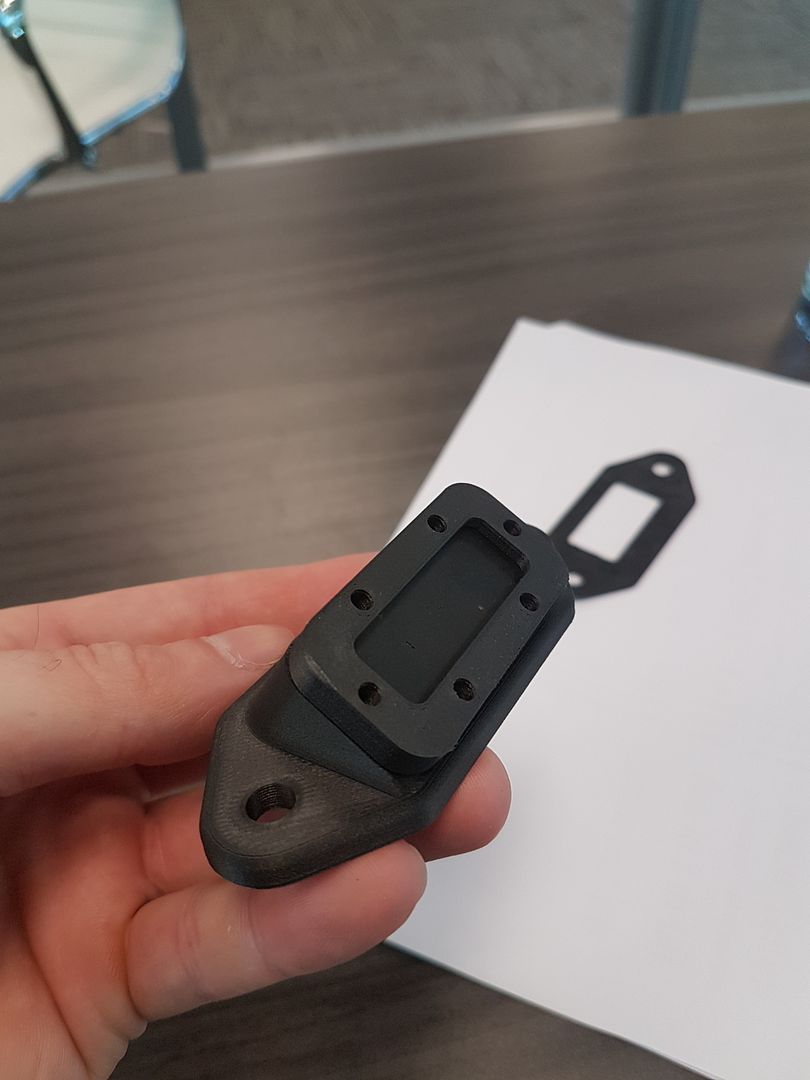
i needed a bulkhead for running the three brake lines through the floor of the jeep. this is the supply to the cutting brake and the 2 returns going to the rear axle.
i was going to cut bend and tig weld one...but then i remembered we bought 3d printer. so here we go.
the design
printed from onyx resin reinforced with fibreglass.
here is all the parts with both rubber gaskets.
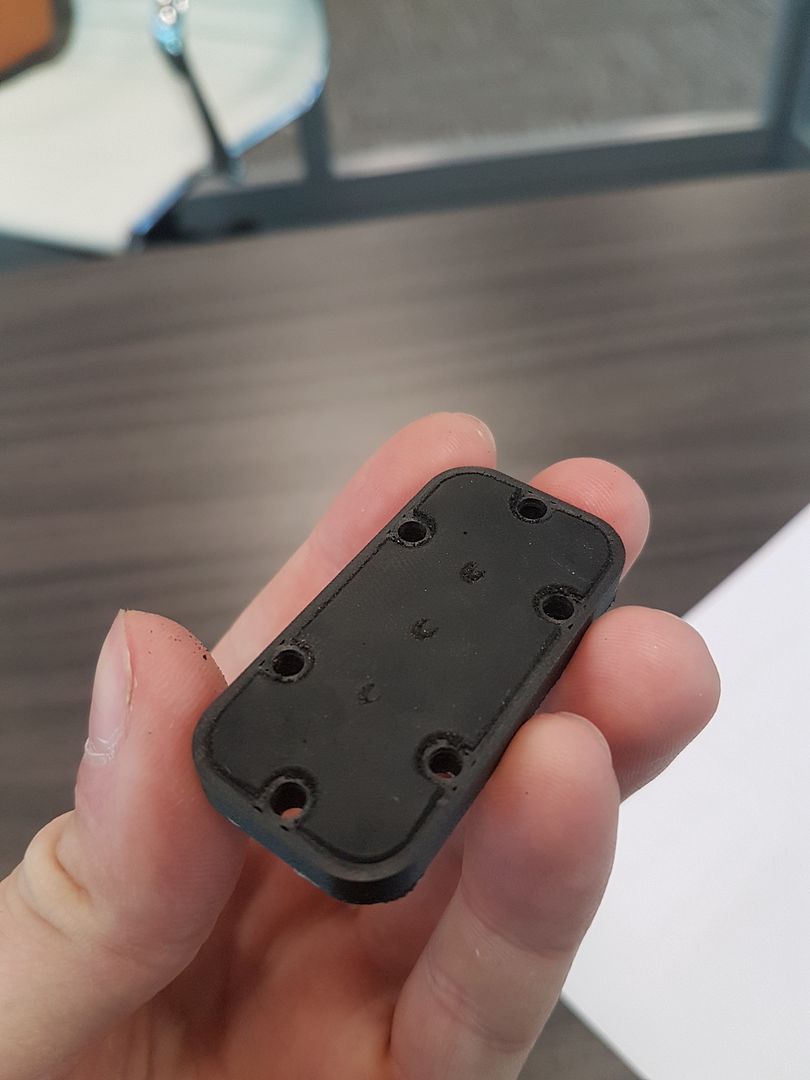
here is the rubber gasket installed in the top part. the 3 dimples are holes where the brake lines will pass through.
here it is put together.
07-26-2019, 09:33 AM
Just when we think "how can this build get any better?" you pull out something like this! Lol!
Sent from my SAMSUNG-SM-G930A using Tapatalk
11-08-2019, 08:07 PM
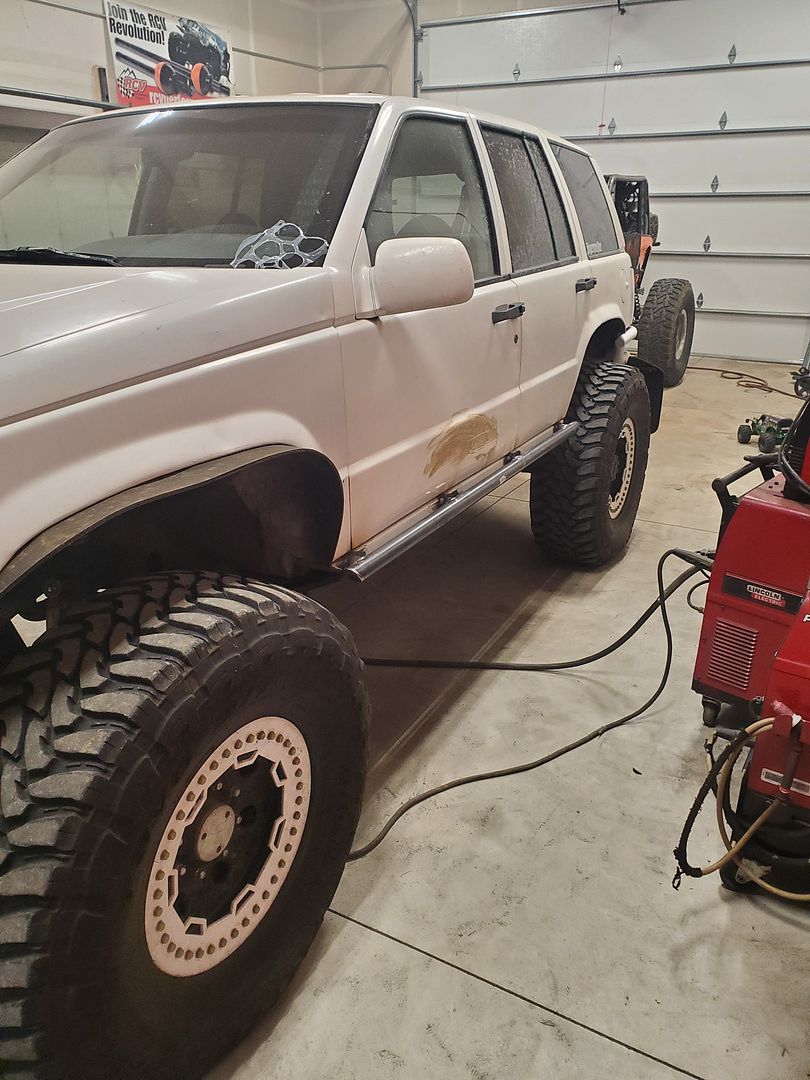
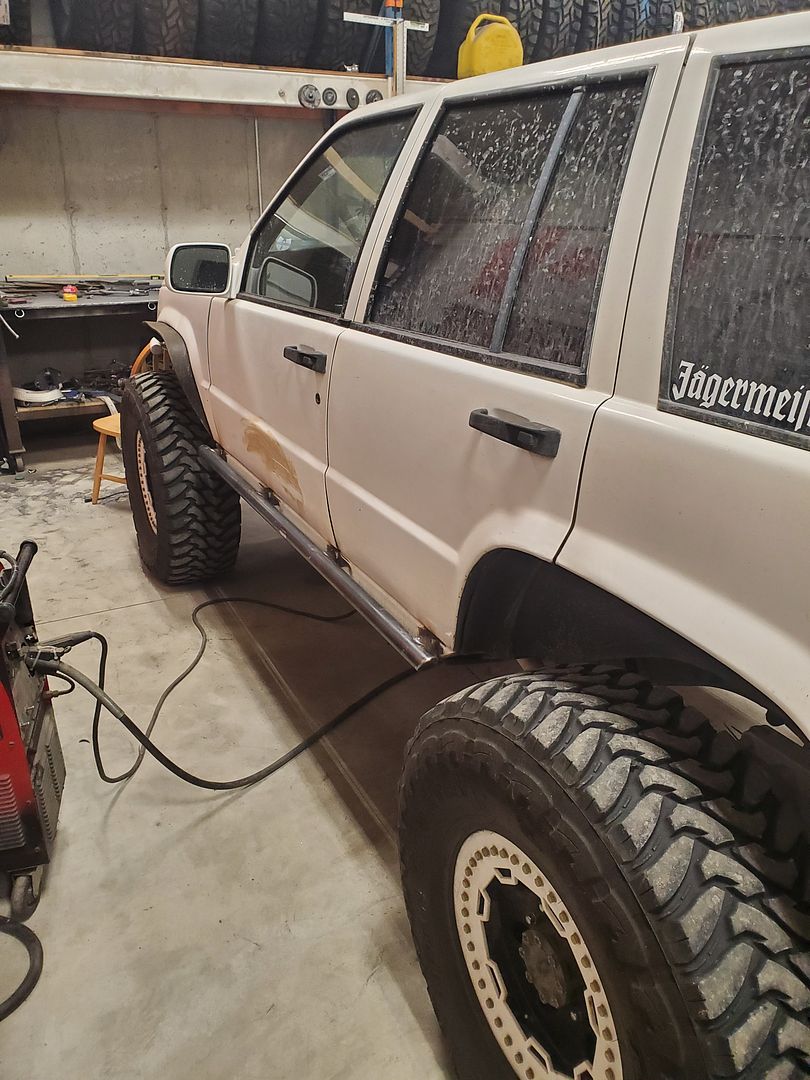
i got some more progress on the truck. I got my boatside plastic installed so i needed a rail for my highlift jack as well as a foundation for the fender bars i need to bend up when i start the cage.

11-08-2019, 08:39 PM
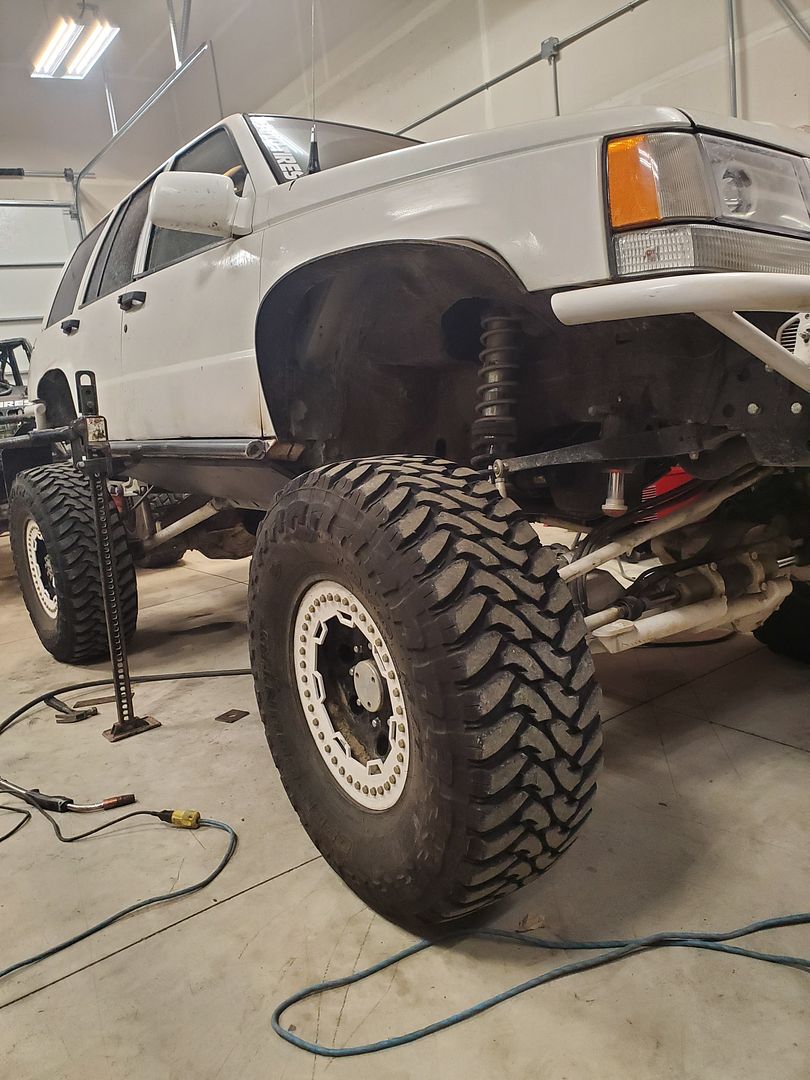
Looks good! The pic with high lift working kinda answers my question wondering about your front wheel wells and what all you clearanced without digging back through. Those pics also make me feel better about my fender lip work!
Sent from my SM-G970U using Tapatalk
08-08-2020, 01:31 PM
The Jeep looks fantastic, after a trip to Big Bear, Johnson Valley, Rubicon, and Moab last month I desperately need to do hydro assist. I very much like your setup. Has it turned out to work as you expected it to?
Sent from my iPhone using Tapatalk
Last edited by scott; 08-09-2020 at 12:27 PM.
| « Previous Thread | Next Thread » |
| Thread Information |
Users Browsing this ThreadThere are currently 6 users browsing this thread. (0 members and 6 guests) |